How I built the Level30Wizards page transition with Gatsby and Framer Motion
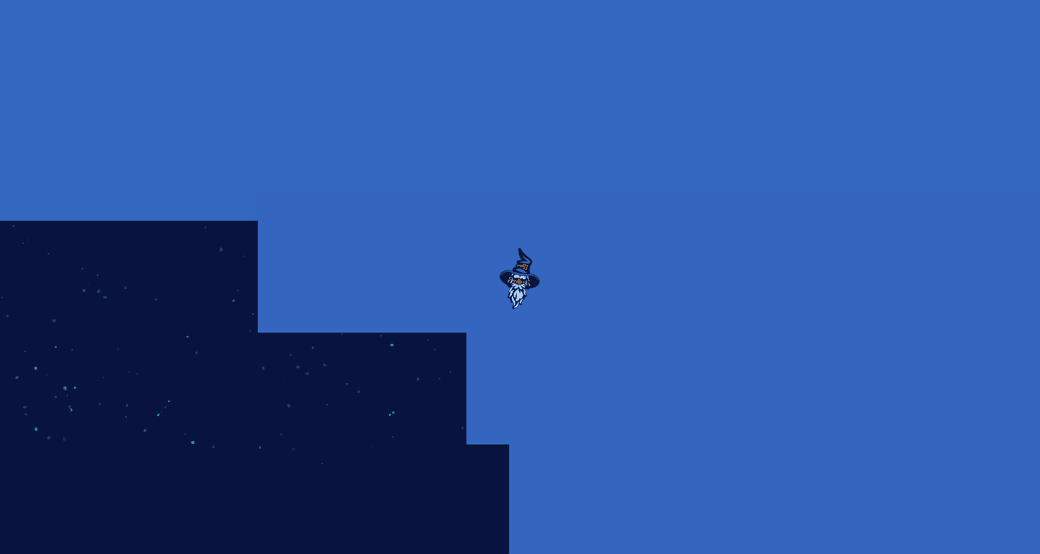
In this article we learn to implement the Level30Wizards page transition with Framer Motion and Gatsby
Tech stack
The Level30Wizards website is built with:
- Gatsby for templating, routing, etc.
- Framer Motion for animation
- EmotionCSS to write normal CSS, nest selectors and componentize styles
Code!
I'll share and explain the code we used to achieve the page transition effect (it's kind of hacky, but bear with me 🐻).
Layout
The layout file and component holds all content of all pages.
That's why we kept it as generic as possible.
In the Layout component we add <PageTransition />
1const Layout = ({ children }) => {2 return (3 <TransitionContextProvider>4 <div5 style={{6 margin: `0 auto`,7 minHeight: 0,8 }}9 >10 <main11 style={{12 overflowY: 'scroll',13 overflowX: 'hidden',14 height: '100vh',15 minHeight: 0,16 }}17 >18 {children}19 </main>20 </div>21 <PageTransition />22 </TransitionContextProvider>23 );24};
Page Transition component
1const PageTransition = () => {2 const { transition } = useContext(TransitionContext);3 const [playState, setPlayState] = useState(transition);45 useEffect(() => {6 setPlayState(transition);7 }, [transition]);89 return (10 <AnimatePresence>11 {playState && (12 <motion.div13 variants={parentVariants}14 initial="visible"15 animate="hidden"16 exit="visible"17 aria-hidden={true}18 css={css`19 width: 100%;20 height: 100%;21 position: fixed;22 top: 0;23 left: 0;24 z-index: 11;25 pointer-events: none;26 transform-origin: left;2728 > div {29 height: 25vh;30 margin-top: -5vh;31 width: 100vw;32 background-color: #3466bf;33 transform-origin: right;34 }35 > figure {36 position: fixed;37 top: calc(50% - 8rem);38 left: calc(50% - 8rem);39 transform-origin: center;40 width: 16rem;41 height: 16rem;42 z-index: 12;43 padding: 0;44 margin: 0;45 svg {46 width: 100%;47 height: 100%;48 }49 }50 `}51 >52 <motion.div variants={childVariants} exit={'visible'} key={0}>53 {' '}54 </motion.div>55 <motion.div variants={childVariants} exit={'visible'} key={1}>56 {' '}57 </motion.div>58 <motion.div variants={childVariants} exit={'visible'} key={2}>59 {' '}60 </motion.div>61 <motion.div variants={childVariants} exit={'visible'} key={3}>62 {' '}63 </motion.div>64 <motion.div variants={childVariants} exit={'visible'} key={4}>65 {' '}66 </motion.div>67 <motion.figure variants={childVariantHead} exit={'visible'} key={5}>68 <HeadLogo />69 </motion.figure>70 </motion.div>71 )}72 </AnimatePresence>73 );74};
TransitionContextProvider
The TransitionContextProvider provides a state to it's children.
This state is used to toggle the PageTransition.
You can see that in the <PageTransition> component we get the shared state with useContext and use that value to set the playstate.
With a useEffect hook we update the playstate to the correct value.
1export const TransitionContext = React.createContext(undefined);23export const TransitionContextProvider = props => {4 const [transition, setTransition] = useState(true);56 return (7 <TransitionContext.Provider8 value={{9 transition: transition,10 setTransition: setTransition,11 }}12 >13 {props.children}14 </TransitionContext.Provider>15 );16};
Framer Motion
Framer Motion let's us create reusable transitions. It also handles staggers, staggerDirection and has built-in easing.
<3 Framer Motion.
We used the following variants to define our transition:
1export const parentVariants = {2 visible: {3 transition: {4 ease: 'circInOut',5 staggerChildren: 0.2,6 staggerDirection: -1,7 },8 },9 hidden: {10 transition: {11 ease: 'circInOut',12 staggerChildren: 0.2,13 staggerDirection: -1,14 },15 },16};1718export const childVariants = {19 visible: {20 scaleX: 1,21 transition: {22 ease: 'circInOut',23 duration: 1,24 },25 },26 hidden: {27 scaleX: 0,28 transition: {29 ease: 'circInOut',30 duration: 1,31 },32 },33};3435export const childVariantHead = {36 visible: {37 scale: 1,38 rotate: 0,39 transition: {40 ease: 'easeInOut',41 duration: 0.5,42 delay: 1.2,43 },44 },45 hidden: {46 scale: 0,47 rotate: 15,48 transition: {49 ease: 'easeInOut',50 duration: 0.5,51 delay: 0.4,52 },53 },54};
Trigger!
We built a wrapper around the Gatsby Link component.
This is where it gets hacky, we use a setTimeout to trigger the <PageTransition> animation state.
This is how it works:
- The user clicks on the TLink
- We prevent the browser from navigating
- We toggle the setTransition to false, triggering the animation to reverse
- We use a setTimeout to delay the navigation for the time it takes to complete the animation (bad practice, i'm sorry)
- The user navigates
- The
<PageTransition>component updates the playstate totrueand reverts the animation
1import React, { useContext } from 'react';2import { css } from '@emotion/core';3import { Link, navigate } from 'gatsby';4import { TransitionContext } from './layout';56const transitionStyles = css`7 color: #d8cf25;8 text-decoration: none;9 border-bottom: 2px solid currentColor;10 font-weight: bold;11 outline: none;12 -webkit-tap-highlight-color: transparent;13`;1415export const TLink = props => {16 const { to, children, styles } = props;17 const { setTransition } = useContext(TransitionContext);1819 return (20 <Link21 to={to}22 title={to === '/' ? 'Home' : to.replace(/\//g, ' ')}23 css={[transitionStyles, styles]}24 onClick={e => {25 e.preventDefault();2627 setTransition(false);28 setTimeout(() => {29 navigate(to);30 }, 1800);31 }}32 >33 {children}34 </Link>35 );36};
Final demo
You can check out the result here:
Level30Wizards
Thanks for reading!
I hope someone somewhere learned something via this post! If you did, please consider sharing the article.
Other posts you might like
Animating with CSS variables and Web Audio
July 20, 2020In this article i'll recreate a web animation I used for a friend of mine who is a musician. I…
Wavy Text Animation using React Hooks with GSAP v3
July 12, 2020In this article i'll create a wavy text animation with React Hooks and GSAP v3 . For the example…
How to: Dual range slider in React with Framer Motion
July 05, 2020In this article I'll show how we achieved to create a dual range slider from scratch in React with…


